
The Lapland Guide
Aurora Photography Tips for Finnish Lapland
Settings, gear, and field tricks our guides use to capture the Northern Lights in Rovaniemi, whether you shoot DSLR, mirrorless, or iPhone.
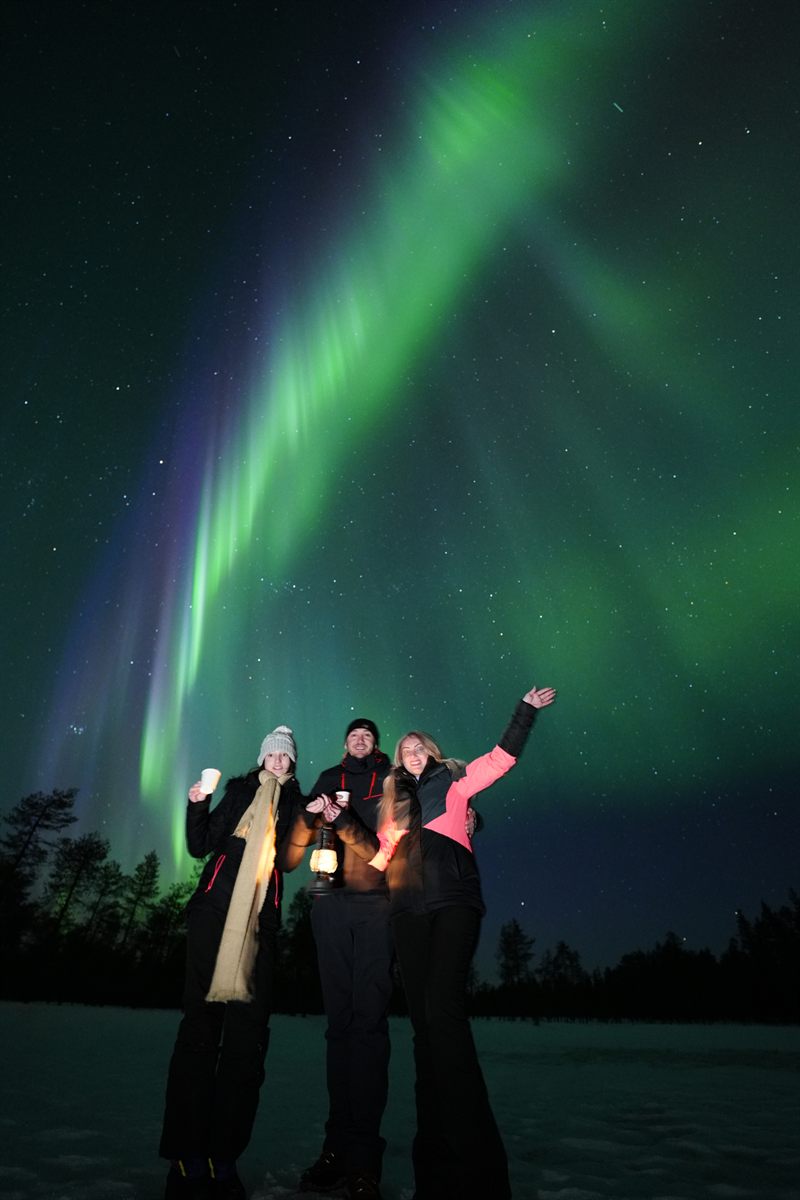
Our guides shoot aurora portraits hundreds of nights a year. These are the settings, gear notes, and field shortcuts we actually use, written for someone bringing one camera on one trip to Rovaniemi, not for a studio photographer chasing magazine covers.
The base settings (DSLR / mirrorless)
- Mode: Manual.
- Aperture: as wide as your lens allows. f/2.8 ideal, f/4 workable.
- Shutter: 5-15 seconds. Faster aurora needs shorter exposures; faint glow tolerates longer.
- ISO: 1600 to start. Push to 3200-6400 in faint conditions, drop to 800 in a strong display.
- White balance: 3500-4000 K to keep the green natural and the sky cool.
- Focus: Manual, set to infinity, then back off the infinity stop very slightly. Confirm on a star using live-view zoom.
- File format: RAW.
- Lens: wide is better than long. 14-24 mm full-frame, 10-18 mm crop.
iPhone aurora photography
You don't need a camera. iPhones 11 and newer perform genuinely well:
- Use the stock Camera app. Open it, point at the aurora, and Night Mode activates automatically in dark conditions.
- Mount on a tripod and tap the yellow Night Mode icon to extend the exposure to its maximum (typically 10 seconds handheld, up to 30 seconds on tripod for Pro models).
- Tap on a star to focus, then drag the sun icon down to lower exposure slightly, Night Mode tends to overcook the sky.
- On iPhone Pro models, switch to ProRAW for editing latitude.
- Avoid the ultra-wide (0.5x), its smaller sensor is much noisier in the dark.
Field workflow we use on every tour
- Set focus before the aurora starts. Aim at the brightest star, zoom in on live-view, manually nudge focus until the star is the smallest possible point. Lock the focus ring with gaffer tape if your lens drifts.
- Take a test exposure on the dark sky. 10 s at f/2.8 ISO 1600 is a clean baseline. Check the histogram, pull mid-tones to roughly one-third from the left.
- When the aurora appears, recompose with foreground. A lone tree, a frozen lake, a road vanishing into trees. Foreground is what separates an aurora photo from a screensaver.
- Shoot in bursts of 5-8 frames. The aurora changes shape in seconds, a burst gives you something to pick from.
- Watch the histogram, not the LCD. The LCD looks brighter than reality in the dark; rely on the histogram to avoid blown highlights in the brightest parts of the aurora band.
Photographing people under the aurora
The hardest shot. People can't hold still for a 10-second exposure without going blurry. Our guide trick:
- Pose your subject standing still, facing away from the camera.
- Drop shutter to 4-6 seconds, push ISO to 3200-6400 to compensate.
- Light the subject for ~1 second with a soft red headlamp or a phone screen at 10% brightness. The brief, dim front-fill freezes them just enough.
- Tell them to breathe normally and lean their weight onto the back leg, micro-movements average out.
Every Polar Lapland aurora tour includes professional DSLR portraits with the aurora, taken by your guide. You don't need to bring any gear at all, but if you want to shoot alongside, the settings above are where to start.
Gear that's actually worth packing
- A tripod with a metal head, not plastic. Plastic ball heads freeze and snap in Lapland cold.
- Two batteries minimum. Lithium batteries lose 40-60% of capacity below −15 °C. Keep the spare in an inside jacket pocket.
- A remote shutter or 2-second self-timer. Pressing the shutter physically introduces vibration.
- Lens warmers or hand-warmer packs taped to the lens barrel. Stops dew from frosting the front element.
- Microfiber cloth in a ziplock. If your lens fogs, never wipe, let it acclimatize.
The aurora forecast tools we actually trust
The same feeds we display on the Northern Light Data dashboard:
- NOAA SWPC 30-minute aurora forecast, best for "is it happening right now".
- Kp index 3-day forecast, a value of 3 or higher means visible aurora at Rovaniemi's latitude.
- Bz component of the interplanetary magnetic field, when Bz turns strongly negative, aurora intensifies within minutes. This is the single best leading indicator.
- YR.no cloud forecast, the Norwegian model is the most accurate for northern Fennoscandia.
One last thing
Put the camera down for at least 10 minutes during a strong display. You came to see the aurora, not to photograph it. Trust the muscle-memory burst you already took. Then look up.
When you're ready to chase it, see our guaranteed aurora tours, every guest gets professional photos included, with a full refund if the lights don't appear.
Frequently Asked Questions
Can you photograph the Northern Lights with an iPhone?
Yes. Any iPhone 11 or newer has a Night Mode that can capture aurora handheld in 3-10 second exposures. Tripod-mounted with the official Camera app set to maximum Night Mode duration (up to 30 seconds on Pro models), modern iPhones produce surprisingly good aurora photos.
What's the single most important setting?
Manual focus set to infinity. Autofocus fails in the dark, and a single out-of-focus frame ruins an entire trip's worth of memories. Lock focus before the aurora appears.
Do I need a fast lens?
It helps. f/2.8 or wider is ideal because it lets you keep ISO and shutter speed reasonable. A kit lens at f/3.5-4 works too, you just push ISO to 3200-6400 and accept slightly more noise.
Should I shoot RAW or JPEG?
RAW, always. Aurora is high-contrast and color-shifted; the latitude RAW gives you in editing is the difference between 'pretty' and 'gallery-worthy'. Modern phones support RAW (or ProRAW on iPhone Pro), use it.